Anyone that knows me, knows that I’m always re-decorating, re-arranging and re-organizing. No surprise, but I had to do it again after the Holiday Open House, just so I could get to the desk in my office. Seriously, I had moved so much stuff into the office that I barely could get in there to do anything! So, I pulled everything out that I knew wasn’t going to stay in there and started looking at what was left. The next thing I knew, I had completely re-decorated my office…. again!
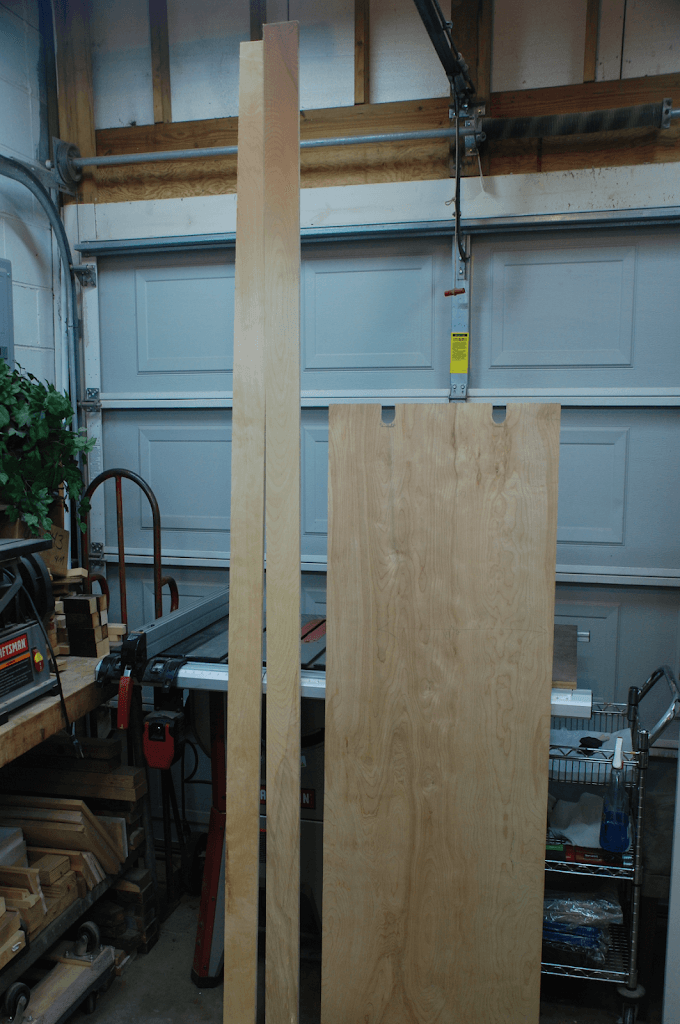
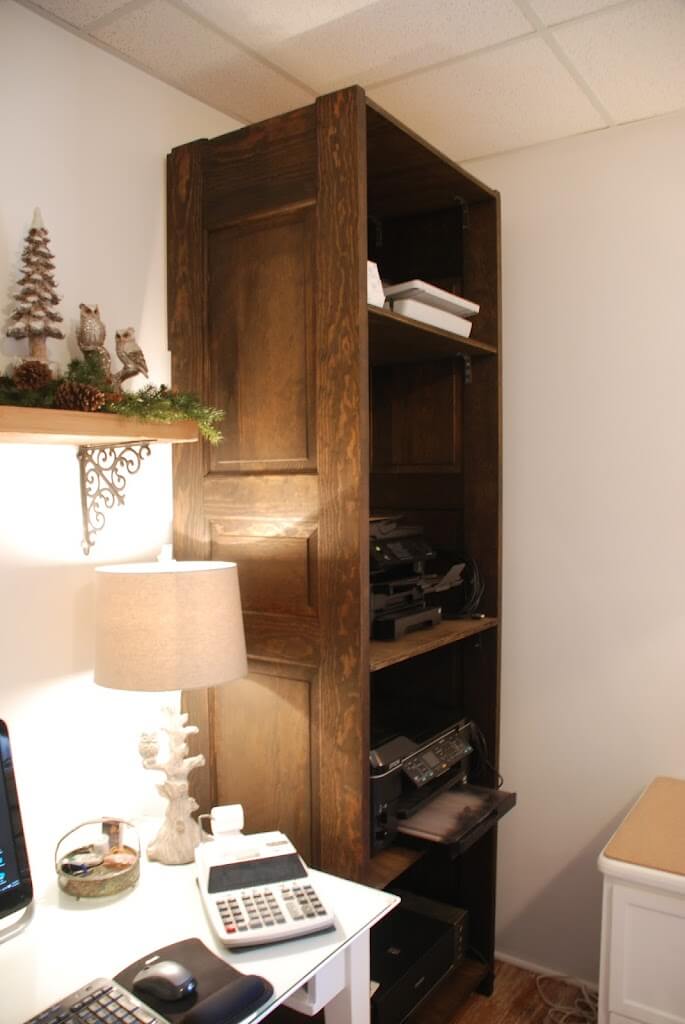
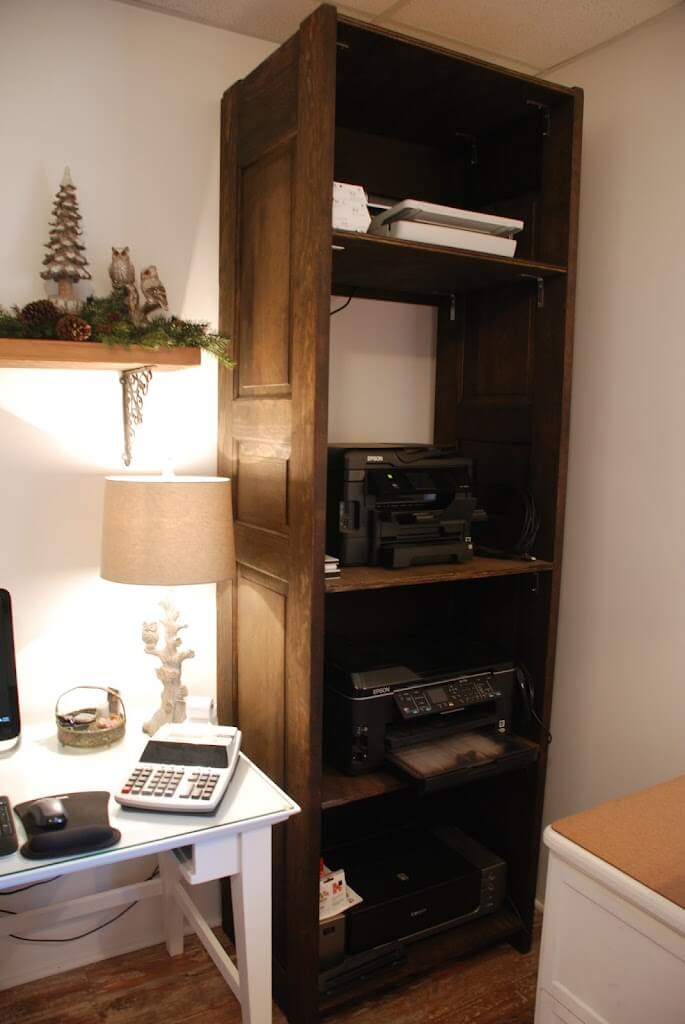
My first project was new storage for my printers. I had four printers, (don’t ask!) on a 6 foot long by 2 foot deep, 2 shelf, cart, that took up way too much of my floor space. In order to maximize my space, I needed to go up, not out, with my printer storage. So, I poked around in my shop, taking a mental inventory of my lumber stash, and saw that I had 4, antique, solid wood, 8′ doors, that were only 23 inches wide. Perfect!!
Here’s how I did it.
My supplies: I used two of my 8 foot doors, some scrap 3/4″ plywood, 20 “L” brackets, and some dark walnut stain to make my new printer shelving unit. A good rule of thumb is to try using what you have on hand before you go buy anything, get creative, think outside of the box!
Just cut out however many shelves you need, to the width and depth that you want your unit to be. I needed five shelves. Then, because I wanted the back of my unit to be open, so that I could manage the wires easily, I cut three extra pieces, wide enough to attach to both doors, to brace the back of the unit, so it would be rigid and not sway or lean from side to side. I stained all the cut pieces and allowed them to dry before putting anything together. Then, I measured and marked the height placement for each shelf on both of the doors and installed the “L” brackets to the doors. Then one by one attached the shelves. Last but not least I added the three braces on the back of the unit, one at the top, then the bottom and then the middle. I stood the unit up, put it in place and loaded all of the printers on it. Now I could have done a lot of things that I didn’t do, like add edging to the plywood shelves, or moldings to make the piece look more polished, but I’m going for a more rustic look and mine works for me. But if you want to add more to yours… go for it! I have definitely increased my available floor space. And it is easily adjustable if I find that I need to make changes in the future.
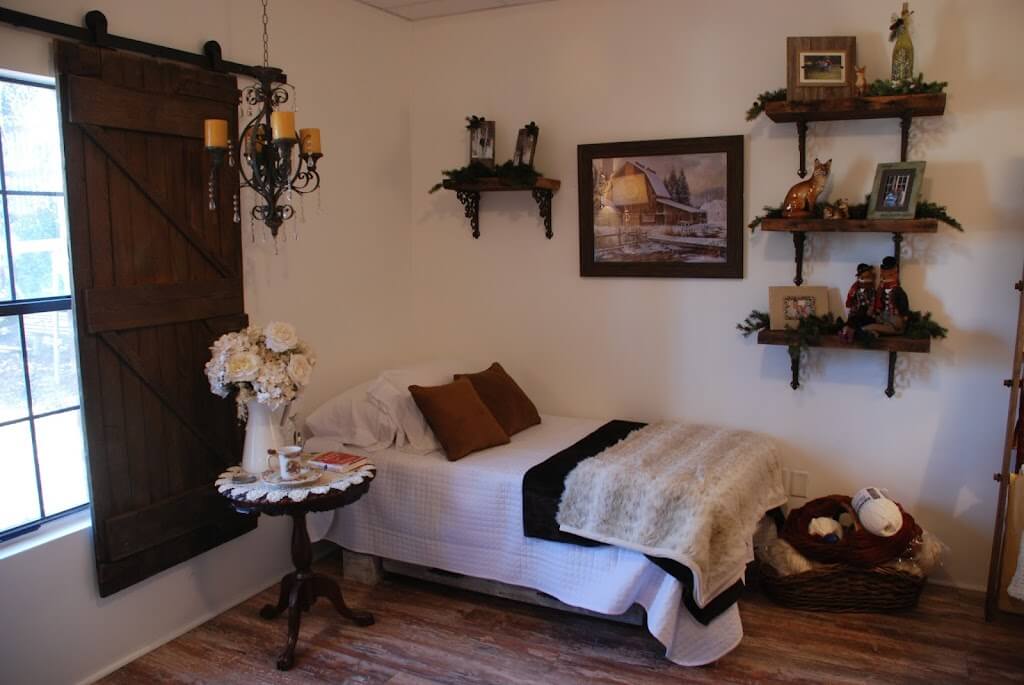
I wanted to add a twin sized bed to my office layout, and the only way I could justify the floor space that a bed would take up, is if I could still have some sort of storage.
In my previous post, Homemade Bed Risers, I showed you how I made the bed risers for this bed, which was the second project in this makeover.

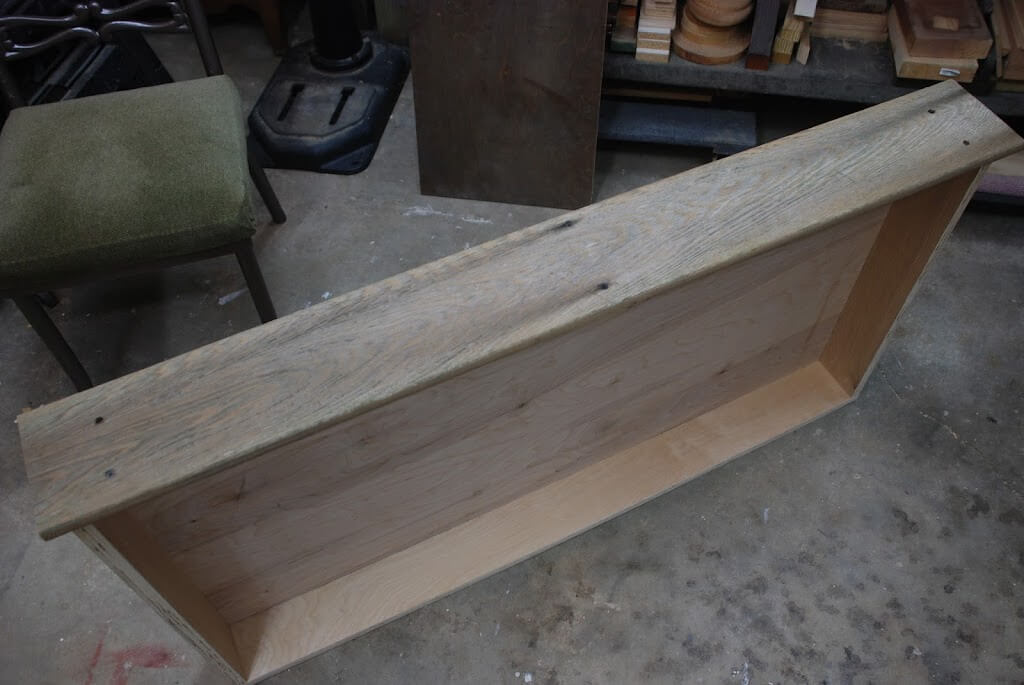
By making the bed risers, I accomplished several things, one of which was giving myself the extra space under the bed I needed in order to have a pull-out storage drawer that would actually have room in it to store something. Now, you may have seen other posts using a dresser drawer as the under the bed storage pull-out, but, what if you don’t have an already-made-drawer sitting around, that’s just the size you need? So, I want to show you how easy it is to make a storage drawer for under the bed that works for you. Then you can decide how you make yours.
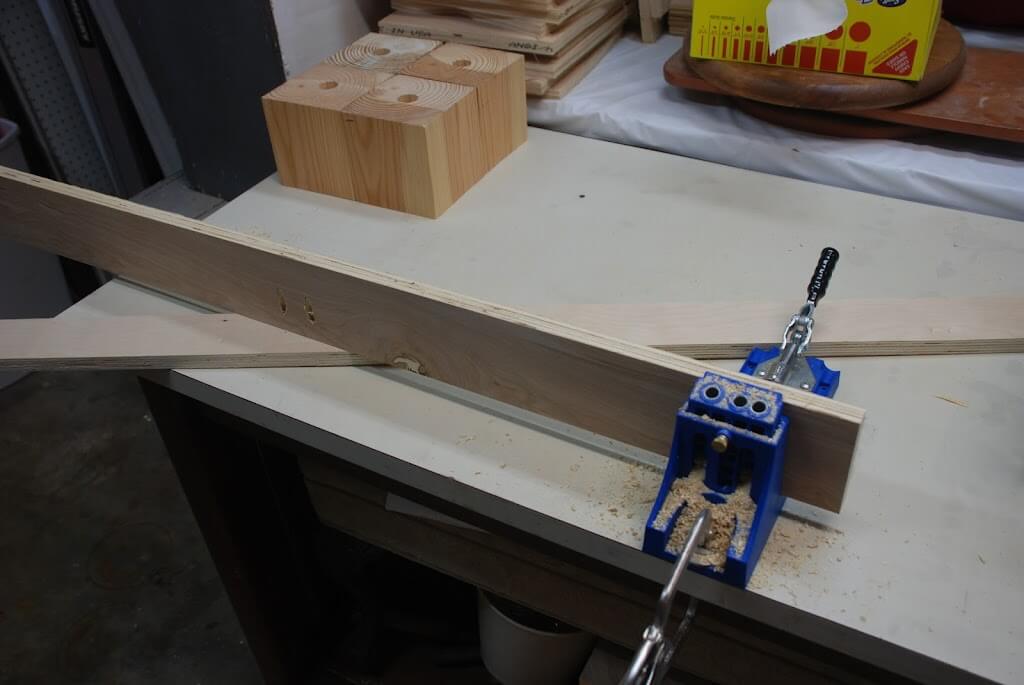
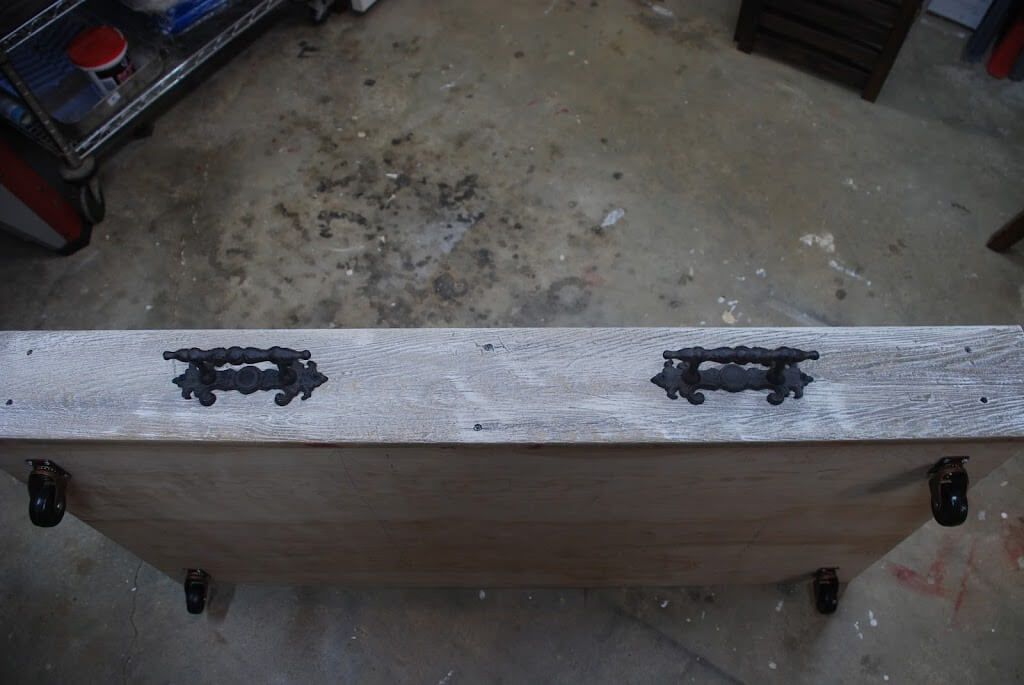
My third project was the Under the bed Pull-out storage drawer. Here is how I made that.
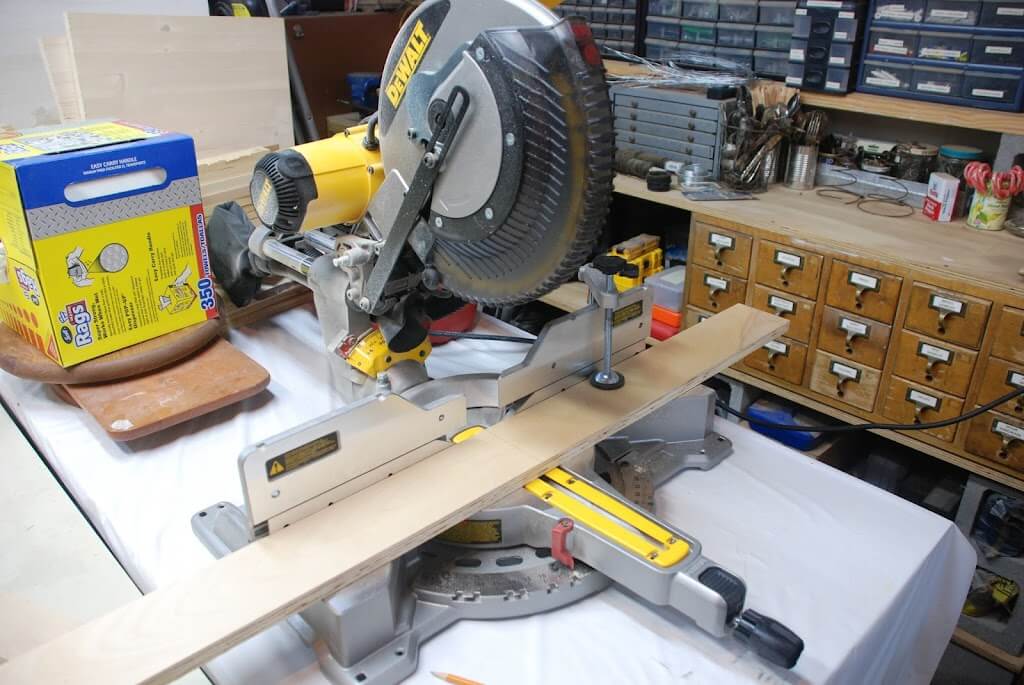
First I measured the space I had between the risers, and the new height space I now had under the bed. Keep in mind the height of any hardware or wheels that you may add. Then I went to my lumber stash and pulled out the pieces I needed.