Do you keep your jewelry in a box? I did, and because of that, I hardly ever wore any of it! It wasn’t convenient. I didn’t normally have time to search through my jewelry and then possibly have to untangle a piece. I had to get to work! And, you know the saying, “out-of-sight out-of-mind”, well, that’s true too. Most of the time I didn’t even think about my jewelry!
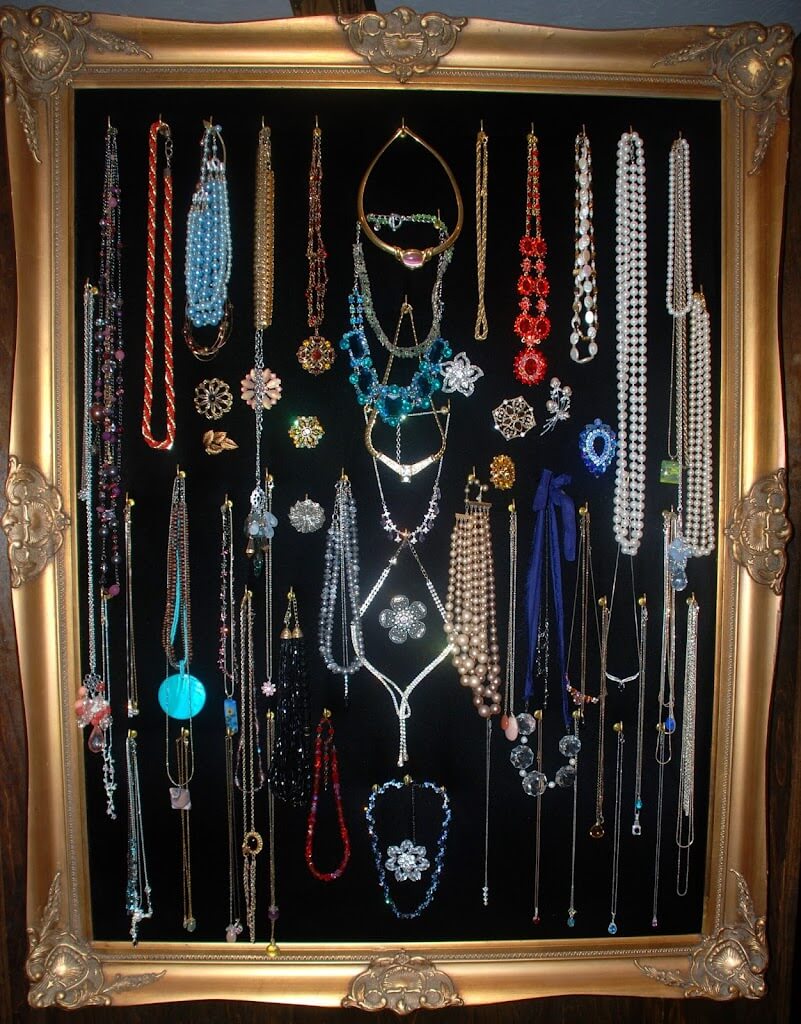
Well, when I remodeled my house, I took a whole room and customized myself a closet. I carefully thought out how I wanted everything displayed, and when it came to my jewelry, I decided, that I would probably wear my jewelry more often if I could see it and remember what I had. So I made a display frame to hang on the end of my shoe shelf unit.
Lots of people have asked me to tell how I made this so…
How-To make you own Jewelry Display Frame
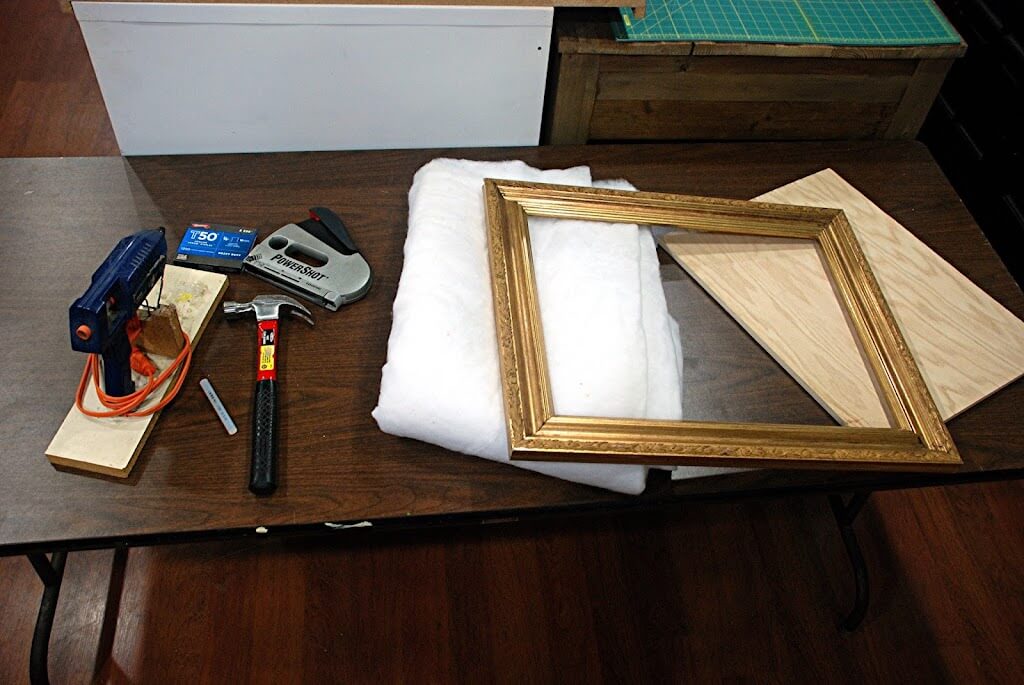
What you will need:
- Frame (that will fit your wall space)
- 1/4 or 1/2 inch plywood (cut to fit the inside lip of your frame, leaving 1/8 inch clearance for fabric)
- 4 flat steel braces sized according to your frame and screws to fit the braces but not go through the other side of the frame (my braces are ½” x 3”, and my screws are #10 screws that are 1/2 inch long)
- Quilt batting (cut the same size as your plywood)
- Enough fabric to cover one side of your plywood plus wrap around the edges by 2-3 inches (I used black velvet. You can use anything you like.)
- Staple gun with 1/4 or 3/8 inch staples
- Glue Gun and glue sticks
- Hammer
- Ice Pick or thin nail
- Scissors
- Plain brown kraft paper
- 2 – “D” Ring Hangers with 1/2 or 3/4 inch screws (depends on the thickness of your frame)
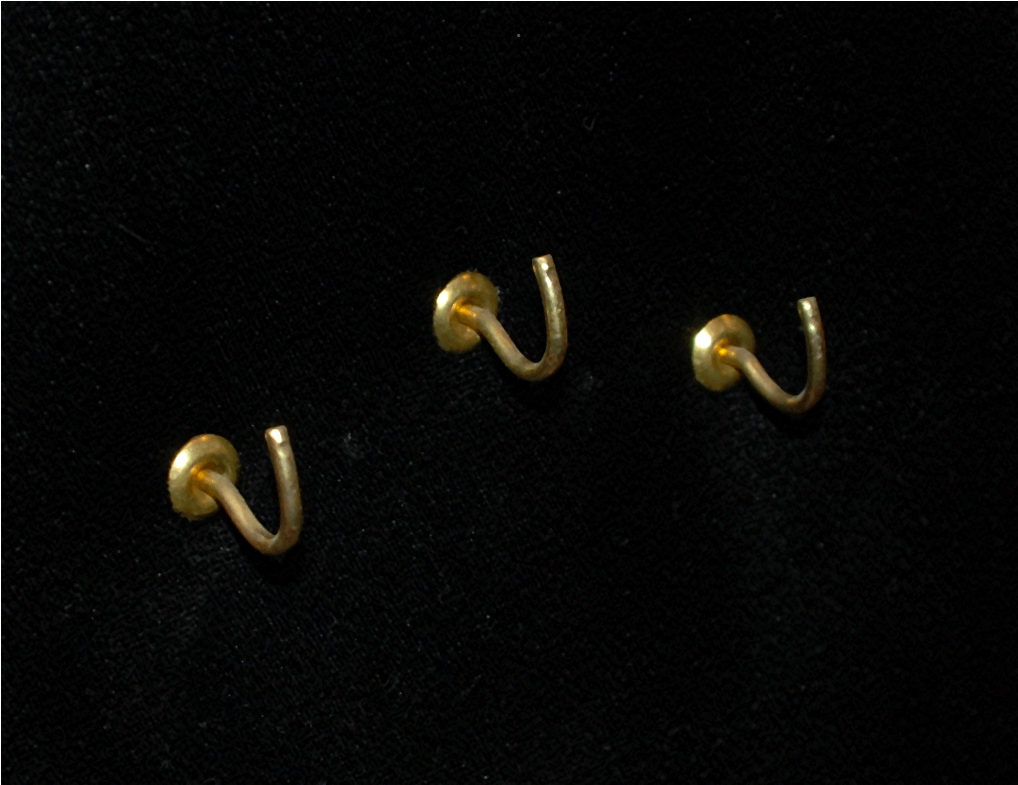
- Enough Brass cup hooks or decorative knobs to hang your jewelry from (I used the cup hooks because I wanted the jewelry to be the focus and they don’t take up as much space as a knob)
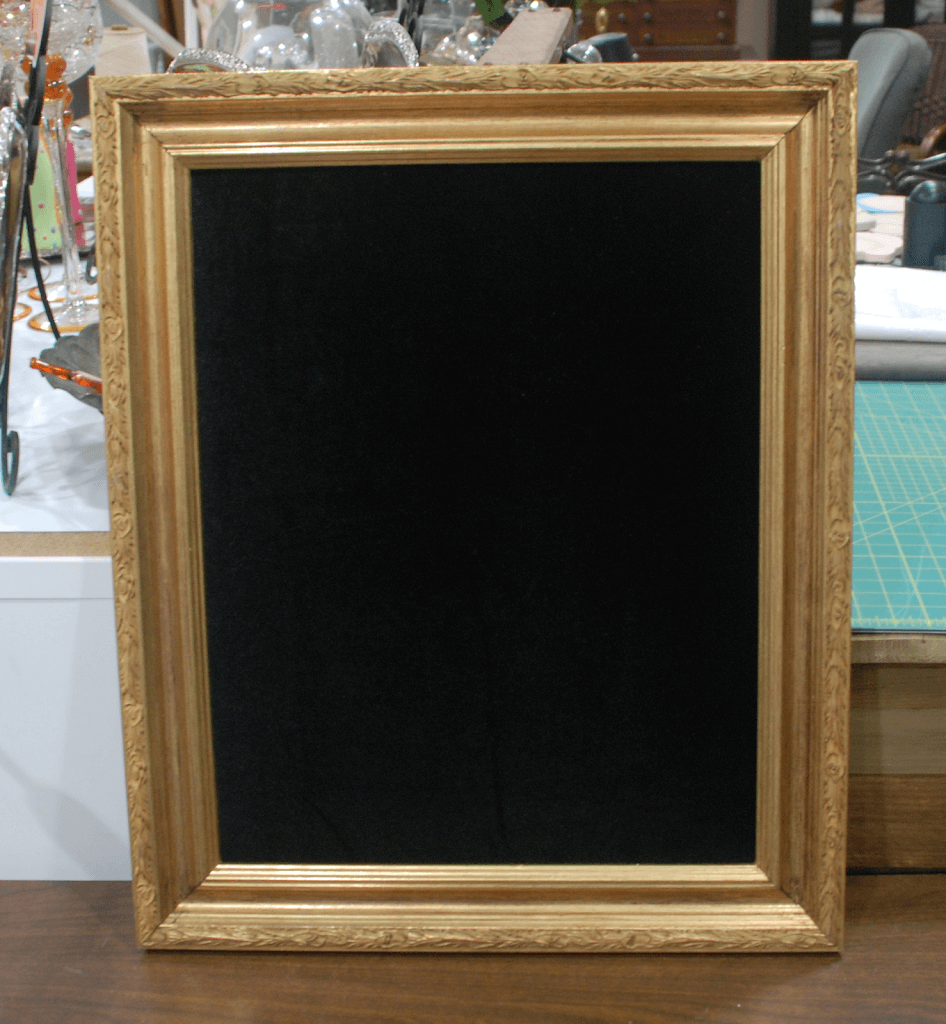
Step One: Find the frame that you want to use and prepare it. Remove any hardware, and glue any loose parts. If it has glass that is unbroken you can trace the outline onto the plywood that you are going to cut. Or you can measure it and have the wood cut at the home store when you purchase it. If you want to paint or stain the frame, now is the time.
Step Two: Cut the plywood (mine was 1/2 inch thick) to fit inside the frame leaving about 1/8 inch space so your fabric will also fit, and sand the edges to remove any splinters.
Note: If you are going to use knobs instead of hooks, now is when you start playing with placement of the knobs, and mark and drill the plywood for the screw holes.
Step Three: Spread out the quilt batting, and smooth out any wrinkles. Lay the plywood on top of the batting, and mark your cutting line. Remove the wood, and cut out the batting.
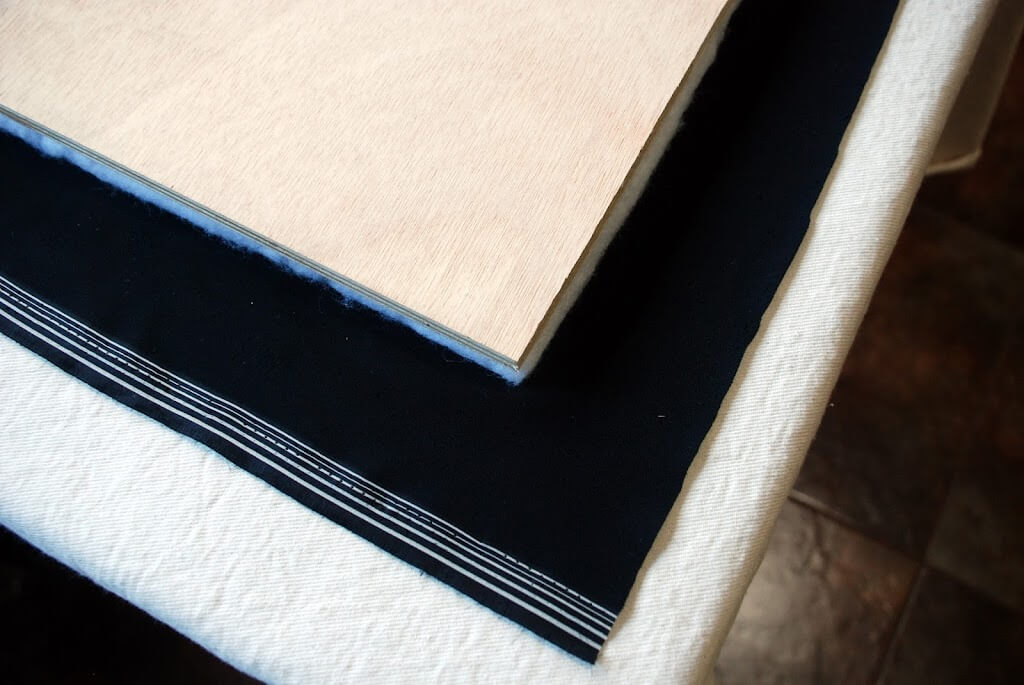
Step Four: Iron, and then spread out your fabric, good side down, and smooth out any wrinkles. Lay your piece of batting on top of the fabric. Cut your fabric, leaving a good 3 inches of additional fabric showing all the way around the batting.
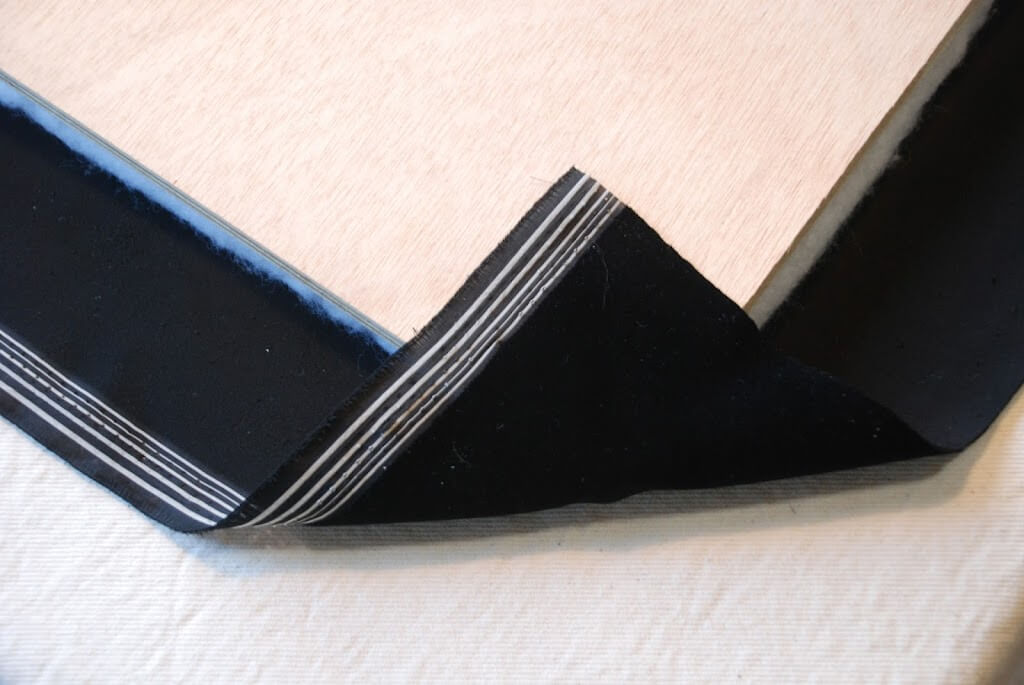
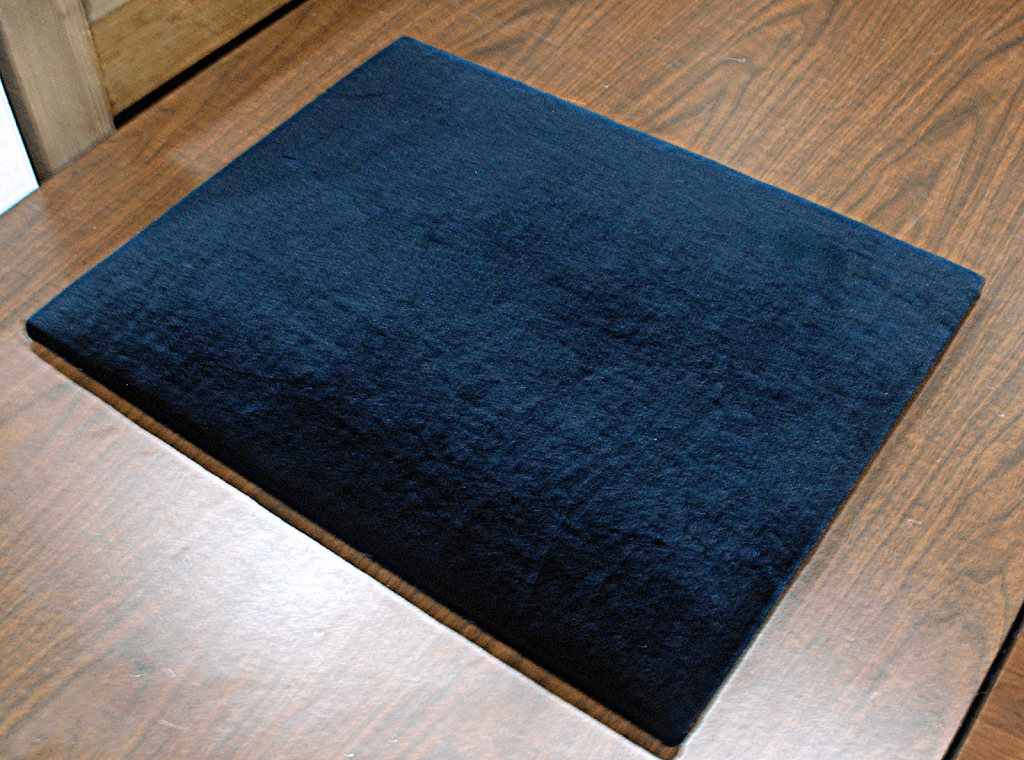
Step Five: Lay the plywood on top of the batting. Start at the corner, pull the corner of the fabric over the edge of the wood, and staple down. Do all four corners before doing the sides. Make sure you’ve gotten them pulled snugly – not too tight or the fabric will pucker – then fold over the sides. Do one side, then the opposite side, then an end, then the opposite end. When all your sides are stapled, check the fabric on the good side to make sure it is smooth. Make any corrections by removing the problem-staple if necessary, and re-stapling.
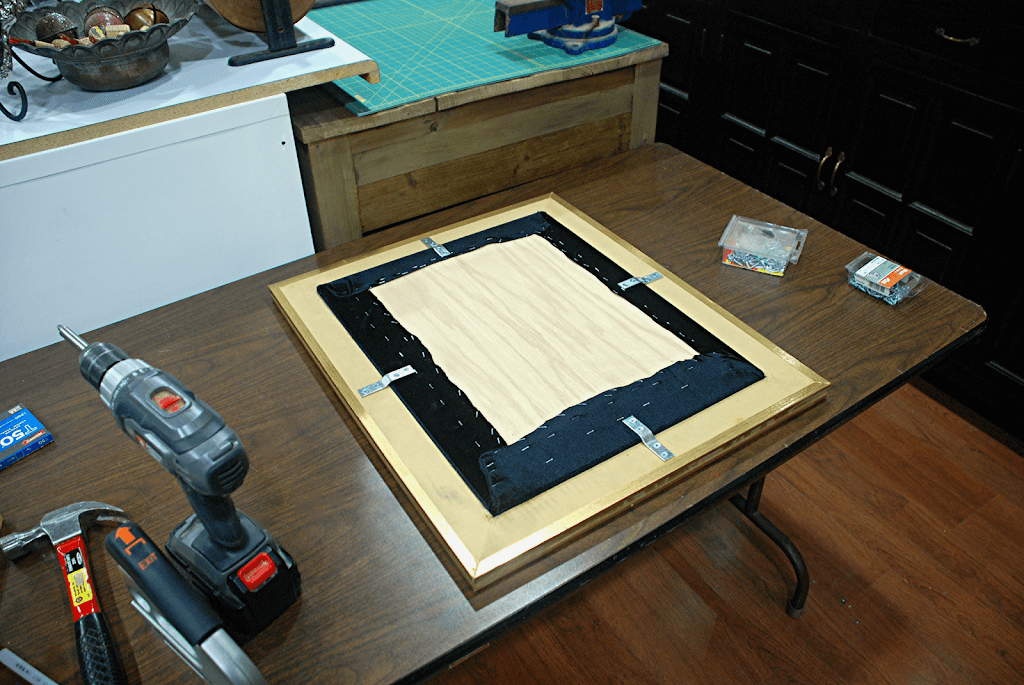
Step Six: Lay your covered piece of wood into the frame, just like you were replacing the glass. It should be pretty snug, and you might have to work it to get it set down into the frame. This is when you secure the wood into the frame using the steel braces. It really doesn’t matter where you put the brace. Sometimes I go across the corner, this time you can see that I put them in the middle of each side.
Note: If you’re using knobs instead of hooks, this is when you would start installing them. Put the screw for the knob into the wood from the back until it starts to apply a little pressure to the fabric. Using a razor or an Exacto knife, make a slight cut, just enough to get the screw through the fabric without snagging it, and put the knob on and tighten it up. Do this for each knob until you’re done. Make sure you’ve gotten them all good and tight.
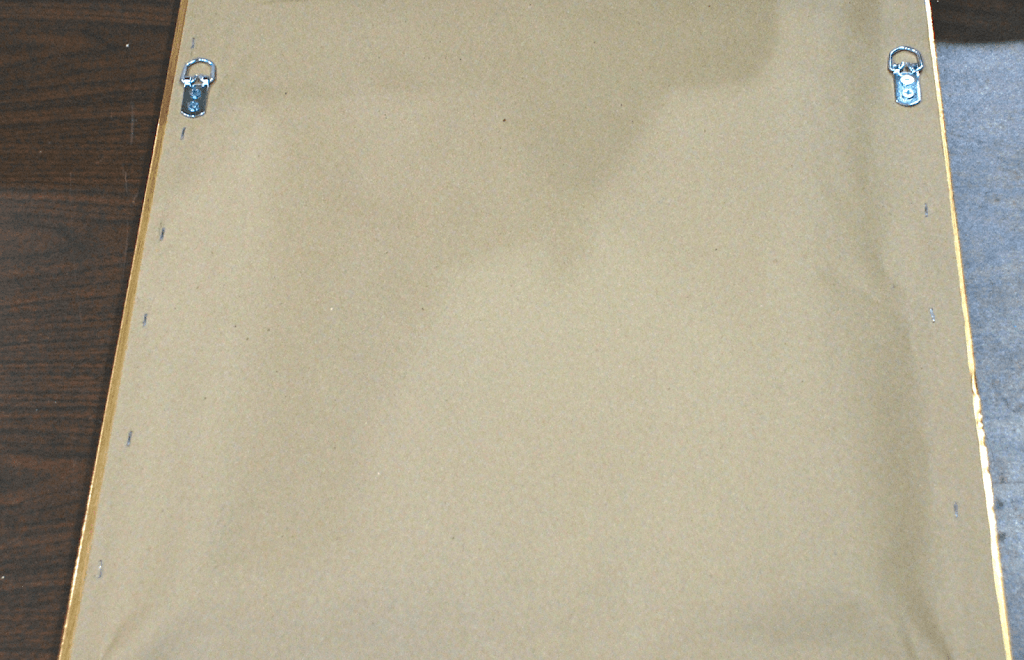
Step Seven: After securing the wood into the frame, cut a piece of brown Kraft paper to cover the entire back of the frame. I staple the first corner just to hold it in place, then I used hot glue, working around the rest of the frame. After it’s glued down, I go back and staple a few spots just to secure it in place.
Step Eight: Decide which of the sides will be your “top”. I use “D” Ring Hangers, because they can support the weight of the frame and the jewelry. Attach one to each side of the frame, a few inches down from your top side.
Note: I don’t put picture-hanging wire on the frame because I don’t want to have to re-balance the frame every time I hang something on it or take something off of it. I hang it directly from the “D” Rings.
Step Nine: I arranged my jewelry a little bit, before deciding where to start putting my hooks. I start by putting the ice pick point where I want the hook to be, and then give it a tap with the hammer to give the hook a starting point. Then, when I put the hook into the fabric, I can feel the dent that I made with the screw end of the hook. This makes it a lot easier to start screwing in the hook. Then you just work your way around the frame installing your hooks. If you have pins or brooches, just use the actual pin to display itself.
Step Ten: Now hang your frame and start displaying your jewelry!
There you have it! Your very own artful jewelry display – there will never be two exactly alike in this whole world! And, just so you know, I really do wear my jewelry a whole lot more, now that I see it every day!
Follow me on my journey
Living and Celebrating Autumn All Year!
Debbie