When I build projects, I save any left-over bits and pieces that I think I can use later, whether I have something in mind at the time or not!
Want to make one?
- Any piece of wood larger than your picture
- I used six or eight cut-off/broken nail heads (another option is upholstery tacks)
- A 4-inch piece of 3/8-inch wide dowel
- One piece of Plexiglas or glass the size of your picture (mine is 4″ x 6″)
- Any Paint, stain and decorations that you like
- Hand drill and a 3/8-inch drill bit
- Hot Glue Gun and glue stick
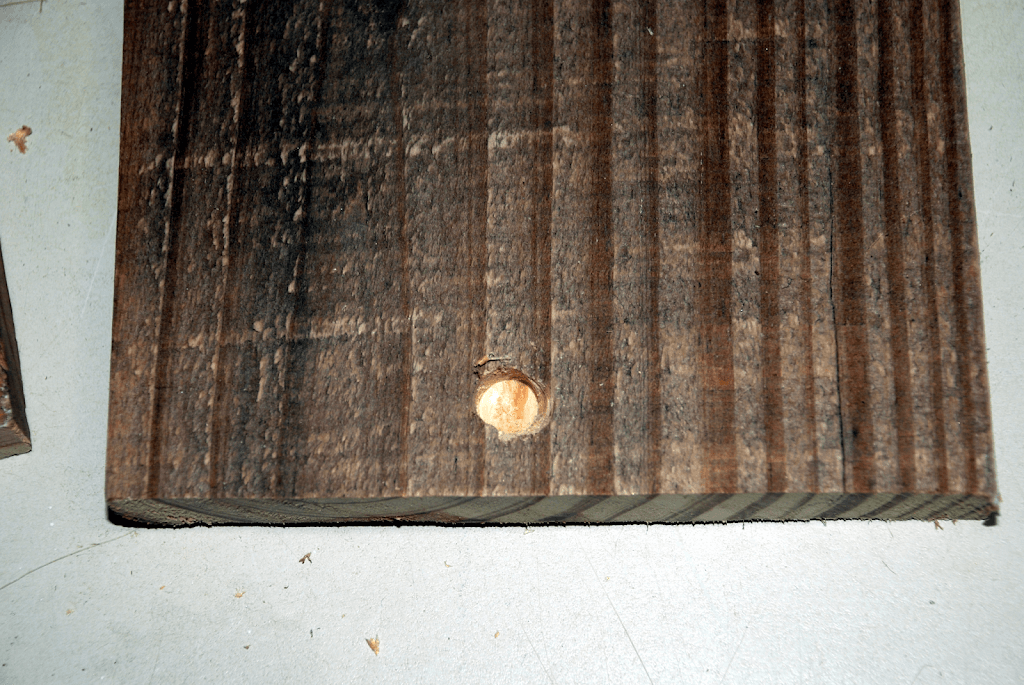
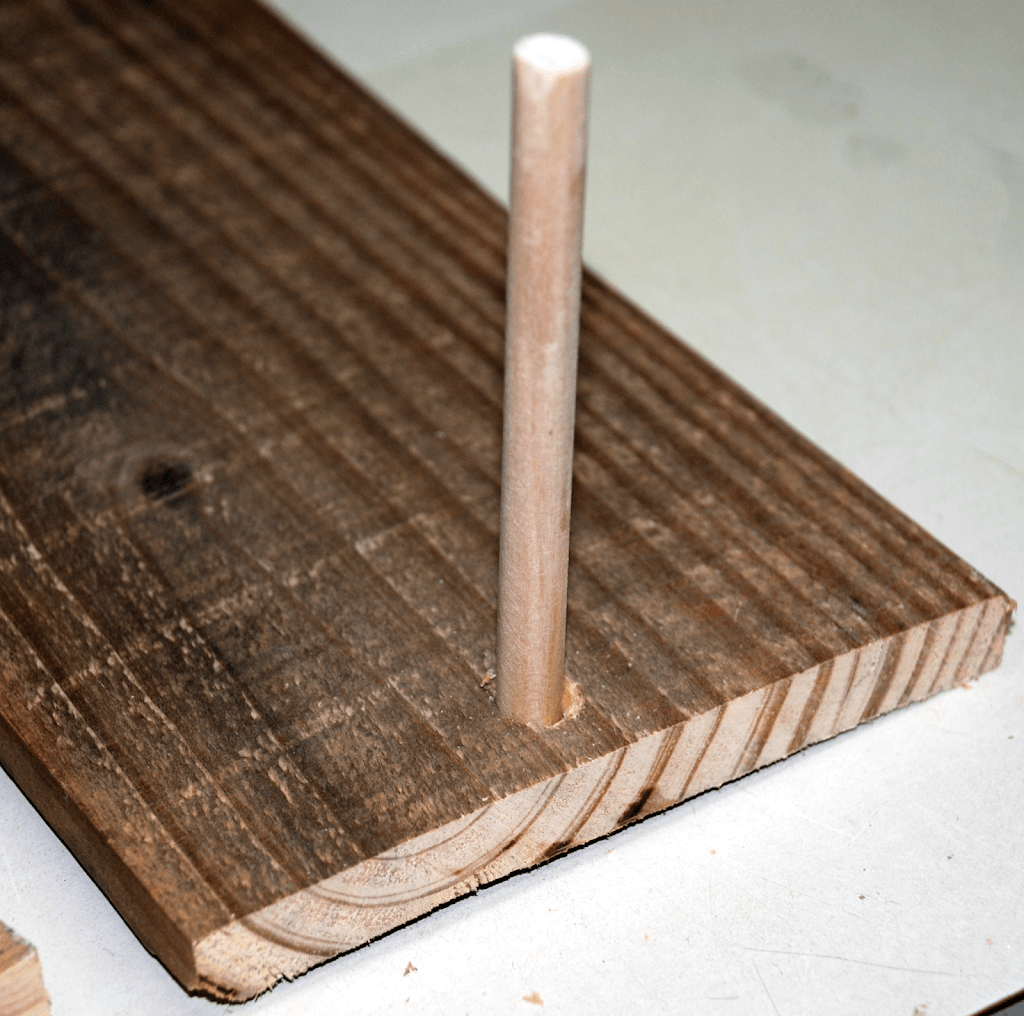
On the back side of the board, I used my hand drill and a 3/8 inch drill bit, and in the middle of the board about 1/4 inch from what will be the bottom, I drilled the hole for the dowel. Make sure that you do NOT drill all the way through the board! Check it to make sure that your dowel fits and that it’s deep enough to stay in.


Paint it now if you want to. I just dry brushed on a little bit of white chalk paint for this one.
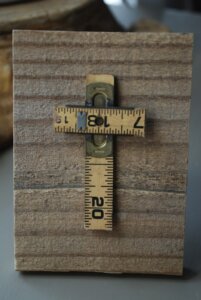
Now, position your Plexiglas on the front side of the board where you want it to be. I marked where I wanted to put my nail heads that would hold the glass in place.
TIP – When I take apart a pallet, I use a reciprocating saw with a blade that cuts through metal. After I have finished cutting up the pallet, I use an awl and tap it in the nail holes on the back side of the board and the cut portion of the nail falls out the front. I have saved hundreds of these rusty nail heads and I reuse them in lots of projects.
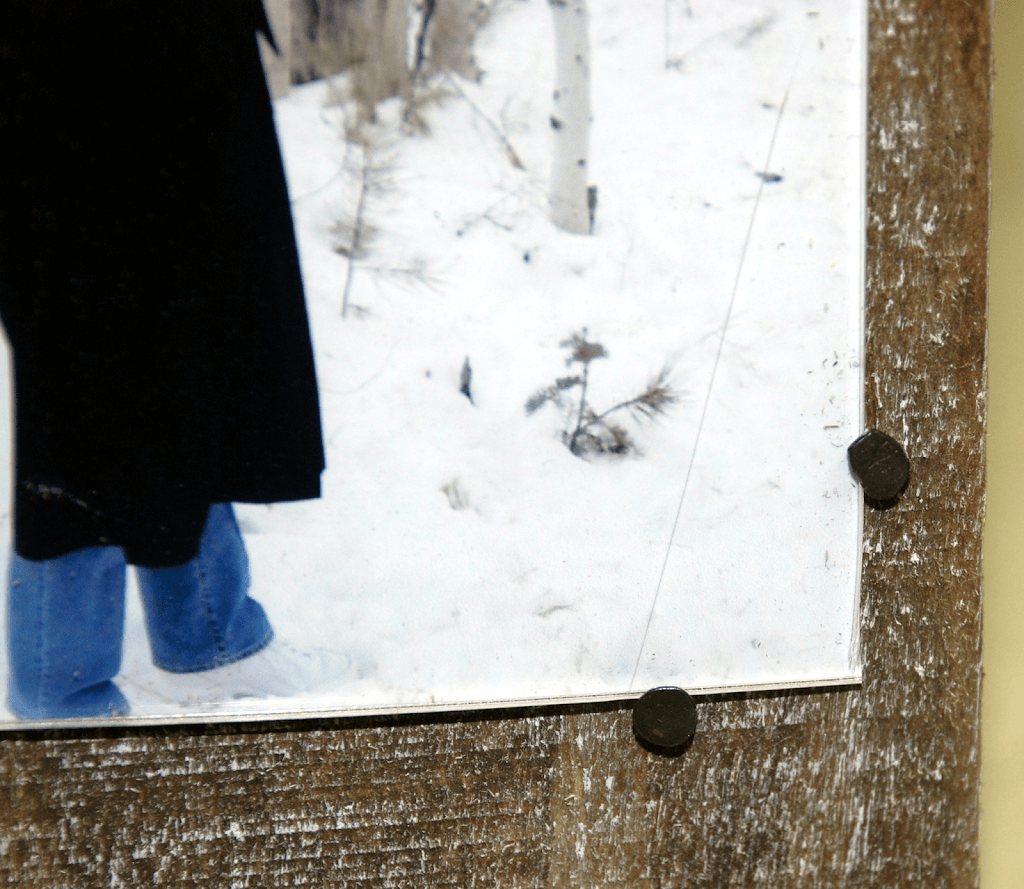
Once you’ve marked your spots, set the glass aside and hammer in the nail heads that will be at the bottom of your picture. Make sure that you only hammer them in just far enough for your glass to rest on the nail shaft, so that the actual nail head will hold the glass in place. Then put your picture and your glass back in place on the board. Cover the glass with a wash rag or thick cloth so that you don’t scratch it when you put the last nail heads in. Go ahead and carefully tap in the last nail heads that will hold your photo and glass in place.
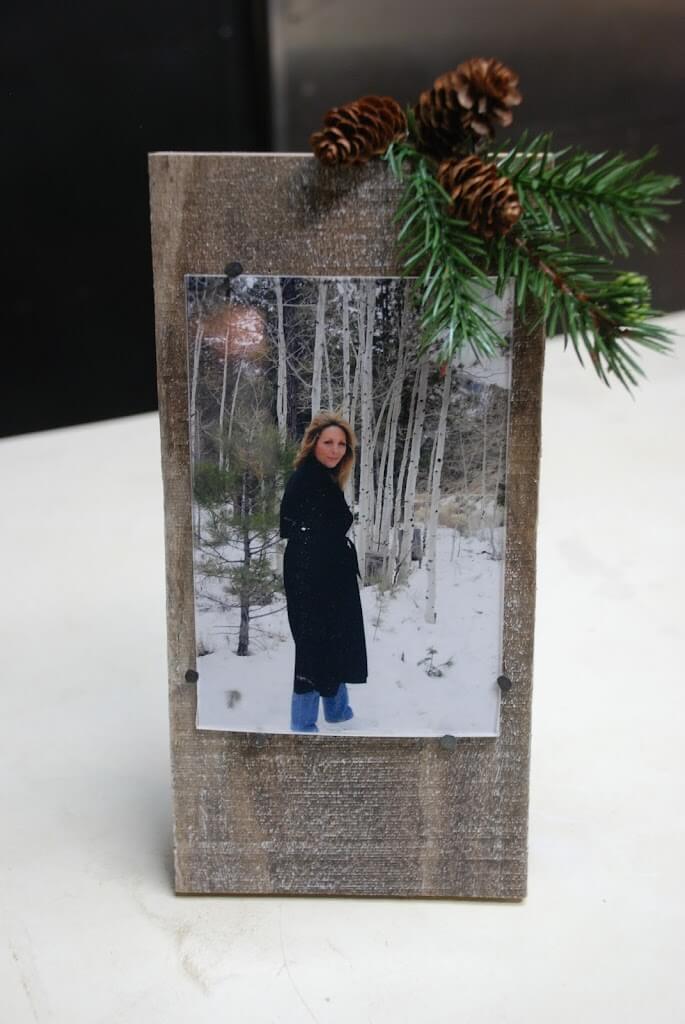
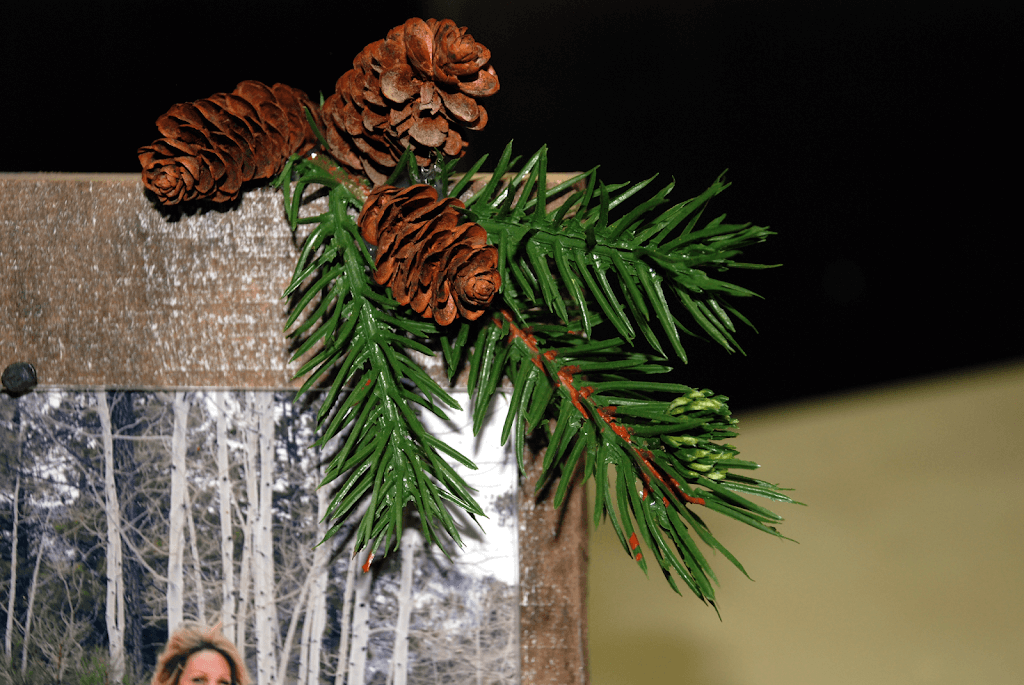
Now all that’s left, is to decorate it! I used left-over parts of a Christmas pick for this one, but the sky is the limit here, get creative!
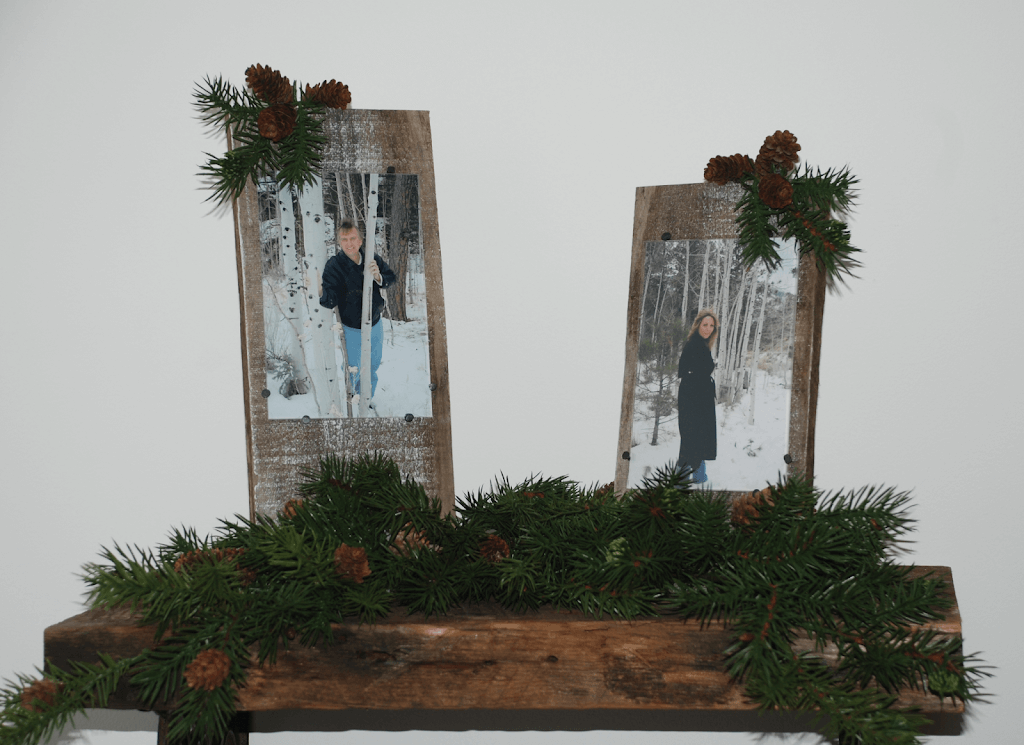
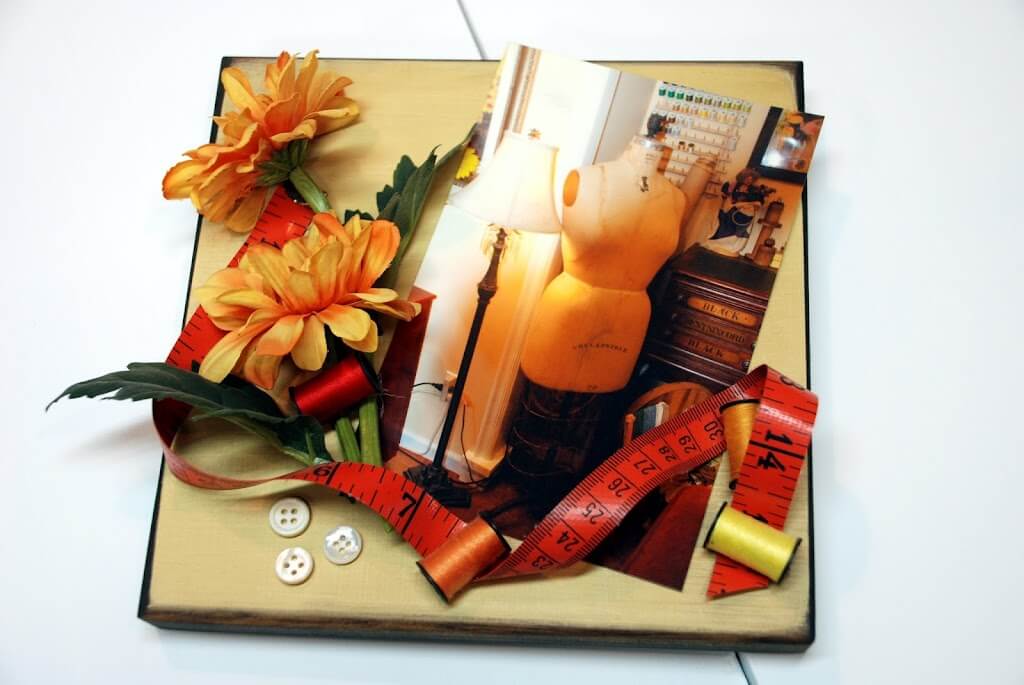
You can see that they are really quick to make, and with fun and personal photos, they make great gifts!